

An engulfing candle strategy trades the moment control switches sides at a level: price moves into support or resistance, then one candle’s body swallows the previous candle’s body in the opposite direction. The engulfing candle is the trigger. The level, drawn before the candle forms, is the reason, so we never trade the pattern where there is no level behind it.
Quick answer: how do you trade an engulfing candle at support and resistance?
Mark the zone first. Wait for price to move into it, then for a candle whose body fully covers the prior candle’s body in the opposite direction. Enter on the close or on a pullback into the engulfing body, place the stop beyond the pattern’s extreme, and target the next opposing level at least twice the risk away.
Why the level matters more than the candle
Our guide on reading candlestick charts for beginners introduces the engulfing candle as a sign of control switching within one period. That switch happens constantly in the middle of ranges, where it means very little. It only carries weight where a lot of orders are likely to be waiting.
There is evidence that levels themselves carry information. A Federal Reserve Bank of New York study of levels published by six foreign exchange firms found strong evidence that support and resistance levels help predict intraday trend interruptions, though their usefulness varied by currency and by firm. The engulfing candle is how we see that interruption happen.

Zones, not lines
Price rarely turns at an exact figure, so we mark a zone using the wicks and bodies of earlier turns. Our comparison of supply and demand versus support and resistance explains why a zone behaves better than a single line drawn through one price.
What a valid engulfing setup needs
We check four conditions, in this order. If any one fails, we wait.
- A level that mattered before. A zone where price turned clearly at least once, marked before the setup.
- A move into the level. Price should arrive at the zone in a visible swing, not drift sideways around it.
- A full body engulf. The engulfing candle’s body covers the previous body completely and closes on the side you want to trade. Wicks need not be covered.
- A sensible size. If the engulfing candle is so large that the stop would be far wider than usual, the setup needs a different entry or a pass.
Reversal or continuation?
The same pattern can do two jobs, depending on where it forms relative to the trend. Our guide on how to identify market structure with highs and lows helps you tell which one you are looking at.
| Factor | Reversal | Continuation |
|---|---|---|
| Where it forms | At a major zone after a long move | At a pullback level in a trend |
| Trades | Against the recent move | With the main trend |
| Typical level | Higher-timeframe supply or demand | Old resistance now support, or the reverse |
| Main risk | Fighting a strong trend | Pullback becomes a deeper reversal |
The continuation case is closely related to role reversal, covered in our breakout and retest strategy guide. There, an engulfing candle at the retest zone is one of the triggers we accept. A tighter pause at the level can form an inside bar instead, traded on the break.
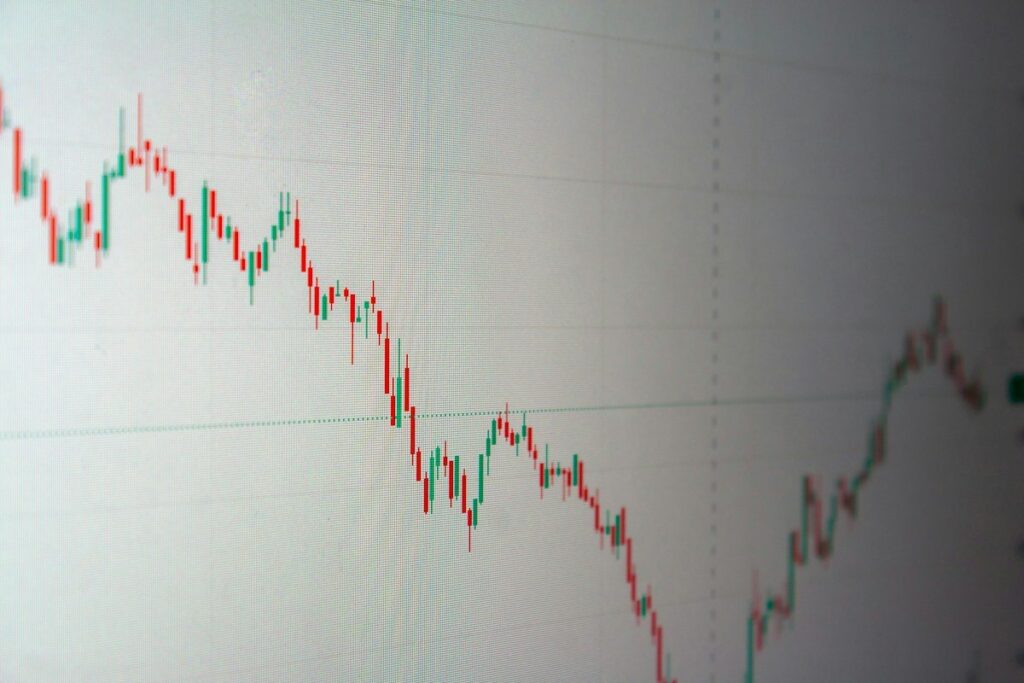
Entry, stop and invalidation
Two entry options
The simplest entry is on the close of the engulfing candle. The alternative is a limit order at the midpoint of the engulfing body, which gives a better price and a tighter stop but is often left unfilled. We use the midpoint entry mainly when the engulfing candle is oversized.
Where the stop goes
For a bearish engulfing at resistance, the stop sits above the higher of the two candles’ highs, plus a buffer for spread. For a bullish setup at support, it sits below the lower of the two lows. Our guide on placing a stop loss with price action covers buffers in more detail.
When the trade is wrong
A close beyond the pattern’s extreme ends the trade. An earlier warning is a close back beyond the engulfing candle’s open, which means the switch in control has been undone. We note that warning in the plan before entering, so we are not deciding under pressure.

Worked example: a bearish engulfing at resistance
Example, using hypothetical figures on a £5,000 account risking 1% per trade, or £50. A hypothetical index rallies into a resistance zone between 4,800 and 4,820 that turned price lower twice before.
A 4-hour bullish candle closes at 4,812. The next candle opens at 4,814, reaches 4,825, then closes at 4,776, fully covering the previous body.
- Entry on the close: 4,776.
- Stop: 4,830, above the pattern high with a buffer, so 54 points of risk.
- Size: £50 ÷ 54 points = about £0.93 per point on a spread bet.
- Target: the support zone at 4,660, which is 116 points, just over twice the risk.
A limit at the body midpoint, 4,795, would cut the risk to 35 points and allow about £1.43 per point, but only if price comes back. The sizing formula is in our guide on how to calculate position size for spread bets and CFDs. Spread bets are leveraged, so a gap through the stop can cost more than the planned £50.

Common mistakes with engulfing candles
- Trading every engulfing pair. Two opposite candles in the middle of a range are not a setup.
- Skipping the approach. Without a clear move into the level, there is little for the engulfing candle to reverse.
- Accepting any stop width. A huge engulfing candle can push the stop so far away that the target no longer pays for the risk.
- Expecting a fixed hit rate. We know of no verifiable figure for how often engulfing candles work. Our article on why win percentages matter less than risk to reward explains why the target and stop matter more.
- Entering before the close. A candle that engulfs at mid-period can close as something weaker.

Compared with a pin bar trading strategy, the engulfing setup usually closes further from the level, so the stop is often wider. That is why the size check matters so much here.
Frequently asked questions
Does the engulfing candle have to cover the wicks too?
We only require the body to cover the previous body. Engulfing the whole range, wicks included, is a stronger version, but it is rarer and makes no difference to where the stop goes.
Is an engulfing candle at support always bullish?
No. A bullish engulfing at support suggests buyers took control, but a bearish engulfing that closes through support suggests the level is breaking. Read the direction of the engulf, not just the location.
Which timeframe works best?
Daily and 4-hour candles give cleaner signals and more time to plan. We find the level on the higher timeframe and only take engulfing candles that form on the timeframe we trade.
Should I wait for the next candle to confirm?
Some traders wait for the next candle to close beyond the engulfing candle’s high or low. It filters some failures, but the entry is further from the level and the stop wider.
Next steps
Practise marking zones first with our guide to drawing supply and demand zones, then look for engulfing candles only inside them.
Supply and demand, assessing price position and a filters and trigger process are all covered in our price action trading course, and the basics section is free to start.
This article is for education only and is not financial advice. Trading leveraged products such as CFDs and spread bets carries a high risk of losing money.