If you are asking where to place a stop loss price action gives a clear answer: put it just beyond the level that proves your trade idea wrong, plus a small buffer for spread and noise. Then size the position so that distance costs you a fixed, small slice of the account.
Quick answer: where should a stop loss go?
Place the stop beyond the swing high or low, or the far edge of the supply or demand zone, that would invalidate the trade if price broke it. Add a buffer for the spread and normal noise. Then work out your position size from that distance, never the other way round.
The importance of a stop loss, from the desk
When Karl first wrote this post in 2020, he opened with a warning that still sums it up:
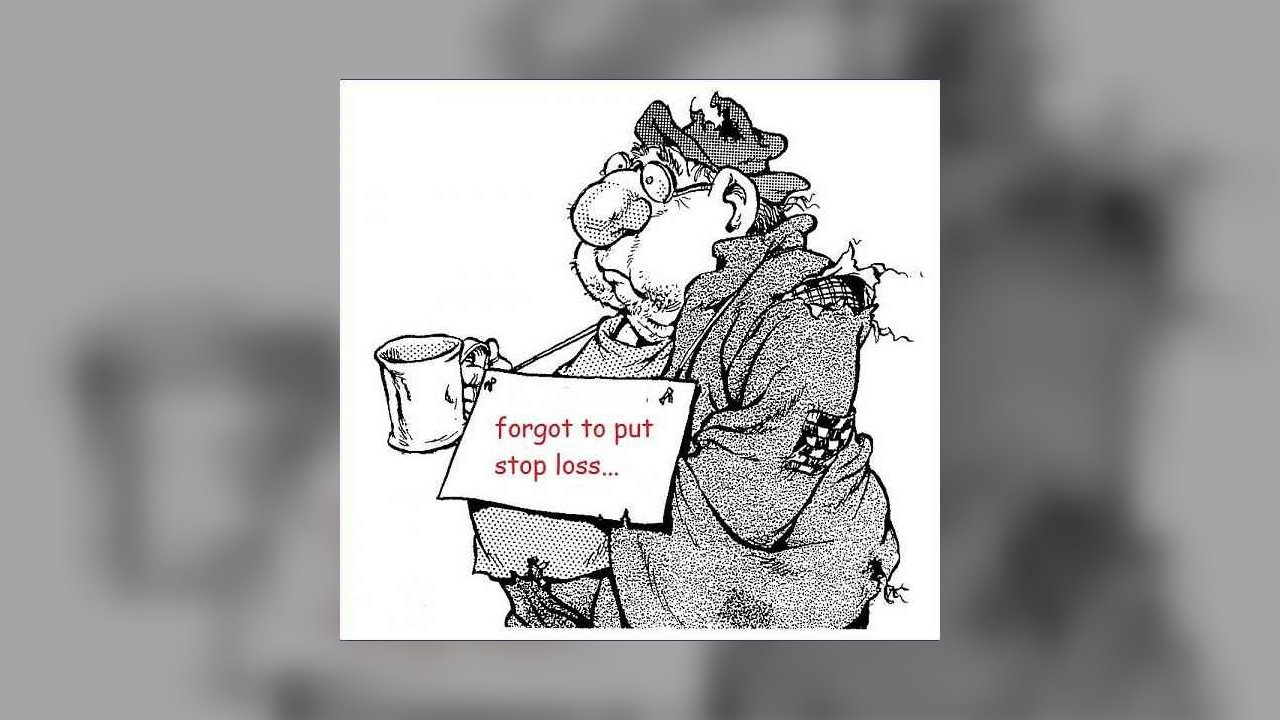
Now this is something I hear about quite a lot! People losing their whole account on one single trade. Holding a losing position is not a good idea. The biggest single bit of advice I can give new traders is USE A STOP LOSS EVERY SINGLE TRADE!
Nothing about that has changed. A stop loss is an order that closes your trade at a set price, so one bad idea costs a known amount instead of whatever the market decides. It also removes the decision at the moment you are least able to make it well, as our trading top tip on always using a stop loss explains. The harder question is where it goes.

Where to place a stop loss with price action
Start with one question: at what price is my idea clearly wrong? That price is your invalidation point, and the stop belongs just beyond it.
Beyond the swing high or low
For a long trade in an uptrend, the obvious invalidation is the most recent higher low. Below it, the reason for the trade has gone. For a short, the stop goes above the most recent lower high. Our guide on how to read price action step by step explains how to pick out those swing points cleanly.
Beyond the supply or demand zone
If you enter at a zone, the stop goes beyond the far edge of it, often called the distal line. Once price trades right through, the orders you were relying on have been absorbed. We cover marking those edges in our guide to drawing supply and demand zones.
Add a buffer
Stops placed exactly on a swing low or a round number tend to be clipped, because many traders put orders in the same obvious places. Add a buffer that covers at least the spread plus some of the market’s normal movement on your timeframe. Our guide to stop hunting in trading explains why those spikes happen. Our process looks like this:
- Mark the swing point or zone edge that invalidates the trade.
- Note the spread and a typical candle range on your timeframe.
- Place the stop beyond the level by that buffer, avoiding round numbers.
- Measure the distance from entry to stop in points or pips.
- Check the target is far enough away to make the risk worthwhile.
That last step matters. If the nearest opposing level is closer than your stop, the trade is not worth taking, which is the idea behind assessing whether a trade is worth the risk before you enter.

Stop loss placement methods compared
There are four common ways to set a stop. Price action traders lean on the first two, and use volatility to size the buffer.
| Method | Pros | Cons |
|---|---|---|
| Beyond structure (swing high or low) | Tied to where the idea fails | Obvious levels attract clustered stops |
| Beyond the zone (distal line) | Clear, repeatable rule at entry | Wide zones mean wide stops |
| Volatility-based (e.g. a multiple of ATR) | Adapts to quiet and busy markets | Ignores where the chart says you are wrong |
| Fixed points or pips | Simple to apply and to test | Arbitrary; often too tight or too wide |
ATR, or average true range, measures how far a market typically moves per candle. In our experience it is a better way to size the buffer than to choose the stop itself. Our guide to the average true range indicator shows how to calculate it.

Normal stops, guaranteed stops and slippage
A normal stop becomes a market order once price touches it. In a fast move, or when a market opens with a gap after news or a weekend, it fills at the next available price. That difference is slippage, and it can make a loss larger than you planned. Our guide to trading order types explains how market, limit and stop orders differ.
A guaranteed stop closes you at your exact level even through a gap. Providers usually charge a premium or a fee for it, require it to sit a minimum distance from the current price, and do not offer it on every market. It is a cost worth weighing before news-heavy periods or when holding over a weekend, but it does not make a poorly placed stop a good one.
Leverage is what makes slippage dangerous. CFDs and spread bets let a small deposit control a large position, so losses can quickly exceed what you expected. The FCA’s rules restricting CFDs sold to retail clients cap leverage, close positions when funds fall to 50% of the margin needed, and stop retail clients losing more than the funds in their account. Those are last-resort protections, not a stop loss, and our guide on how margin and leverage work explains the risks in more detail.

Worked example: from stop to position size
Hypothetical example: on a £5,000 account you risk 1% per trade, so £50. You want to buy an index at 7,520 after it holds a demand zone whose far edge is 7,488. You add an 8-point buffer, so the stop goes at 7,480, which is 40 points away.
Your stake is £50 divided by 40 points, which is £1.25 per point. If the stop is hit cleanly, you lose £50. If the market gaps 10 points through it, you lose about £62.50, which is still survivable because the stake was sized from the stop.
Notice the order: stop first, then size. Our guides on calculating position size from your stop and how much to risk per trade take this further.

Common mistakes
- Choosing the stop to fit the stake. A tight stop to trade bigger sits inside normal noise.
- Stops exactly on the level. No buffer means you are stopped by the spread or a brief poke through.
- Moving the stop further away. Widening it mid-trade turns a planned loss into an open-ended one. It is usually an emotional decision.
- Assuming the stop always fills at its price. Gaps and fast markets can cause slippage on a normal stop.
- No stop at all. As Karl put it, this is how accounts are lost on a single trade.
Frequently asked questions
How far away should my stop loss be?
Far enough to sit beyond the level that invalidates your trade, plus a buffer for spread and normal movement. There is no single right number of pips. Your position size, not the stop, is what keeps the loss small.
Should my stop go beyond the wick or the candle body?
We place stops beyond the wick of the swing high or low, then add a buffer. The wick shows where price actually traded, so a stop inside it is already within reach of normal movement.
Is a guaranteed stop worth paying for?
It depends on the market and the timing. It protects against gaps, so it can be worth the cost around major news or over weekends. For liquid markets during busy hours, many traders accept the small risk of slippage on a normal stop instead.
Next steps
Our guide to building a rules-based risk model shows how stops, risk per trade and position size fit together.
For a sibling read, see our tip on cutting losses early. If you want to learn the full process on real charts, the basics section of our price action trading course is free to start.
This article is for education only and is not financial advice. Trading leveraged products such as CFDs and spread bets carries a high risk of losing money.