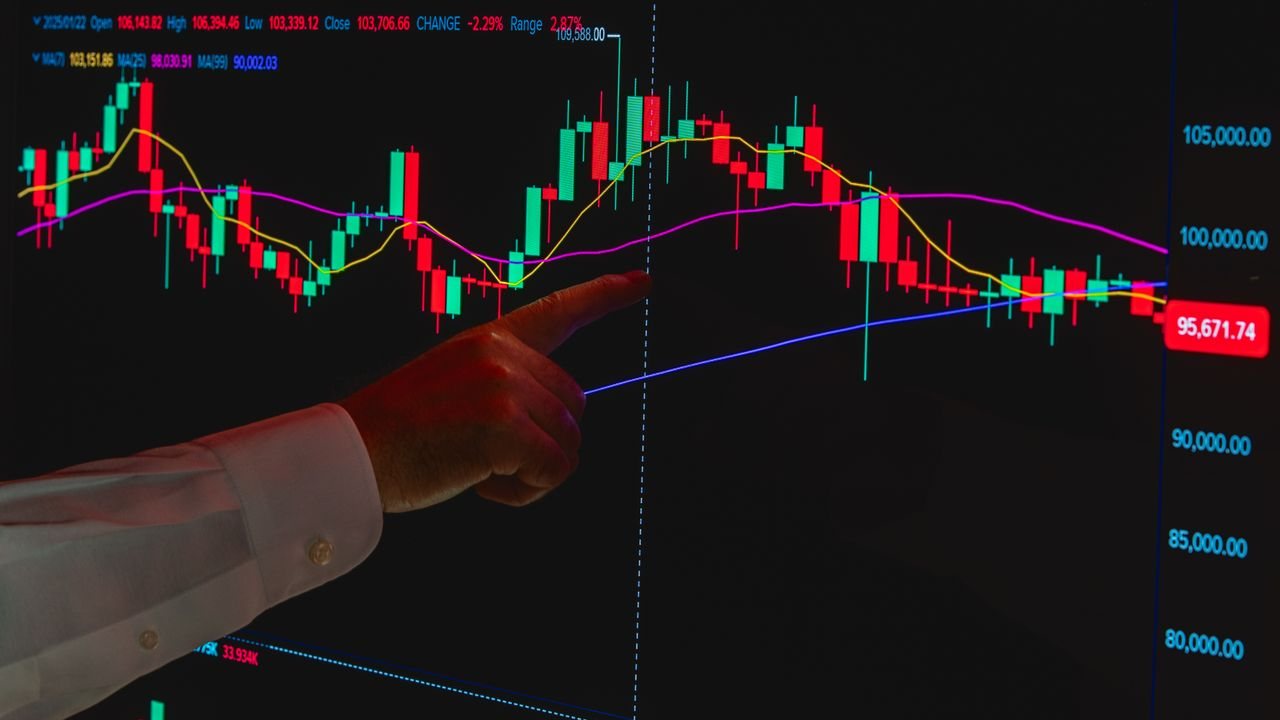

Order block trading means marking the last opposing candle before a strong move, then waiting for price to return to that area for an entry. A bullish order block is the last down candle before a sharp rally; a bearish one is the last up candle before a sharp fall. Underneath the new name, it is a tightly drawn supply or demand zone.
Quick answer: what is an order block?
An order block is the last candle against the trend before a strong, structure-breaking move. Traders treat it as an area where large orders may have been filled and expect a reaction when price returns. There is research showing orders cluster at levels, but no published evidence that a specific candle marks unfilled bank orders.
What an order block is
The term comes from the “smart money concepts” and ICT (Inner Circle Trader) material popular on YouTube. The story: banks cannot fill a huge order in one go, so they build it in pieces, and the last candle before the move shows where they were buying or selling.
- Bullish order block: the last bearish (down) candle before an impulsive rally that breaks a recent swing high.
- Bearish order block: the last bullish (up) candle before an impulsive drop that breaks a recent swing low.
- Displacement: the jargon for that impulsive move, usually a run of large-bodied candles with little overlap.
- Mitigation: price returning to the block.
If those descriptions sound familiar, they should. A base before a strong move, judged by the strength of the move away, is exactly how our guide on how to draw and trade supply and demand zones builds a zone.

What the evidence does and does not show
We want to be straight about this, because most order block content states the institutional story as fact. What has been studied is how orders are spread across price levels. A New York Fed study of one large dealing bank’s currency orders found that take-profit and stop-loss orders cluster at round numbers, which helps explain why trends often pause at familiar levels and speed up once those levels break.
A second paper by the same author found that stop-loss orders can trigger price cascades, with trends accelerating where those orders cluster. The effects lasted hours rather than days.
Neither study looks at order blocks. Nobody outside a bank can see its order book, so the claim that one candle holds unfilled institutional orders cannot be checked from a retail chart. What we can say is that areas price left sharply often see a reaction on the return, which is the idea behind supply and demand.

Order blocks vs supply and demand zones
The two methods mostly mark the same areas. The differences are in how narrowly the zone is drawn and in the vocabulary.
| Factor | Order block | Supply or demand zone |
|---|---|---|
| Zone drawn from | One candle, the last opposing one | The whole base before the move |
| Zone width | Narrow | Usually wider |
| Strength judged by | Displacement and a structure break | Speed and distance of the move away |
| Untouched zone called | Unmitigated | Fresh |
| Main trade-off | Tighter stop, more missed fills | More fills, wider stop |
“Unmitigated” and “fresh” describe the same thing: price has not yet been back. Our article on fresh vs tested supply and demand zones explains why the first return is usually the one traders care about. For the wider question of how zones differ from simple lines, see supply and demand vs support and resistance.

How we approach order block trading step by step
These are the filters we would apply. They remove most of the blocks a beginner marks.
- Start with structure. The move away from the block should break a prior swing high (bullish) or swing low (bearish). Our guide on how to identify market structure through highs, lows and breaks sets out the swing rules.
- Check the displacement. We want large-bodied candles leaving the area quickly. A slow drift away tells you little.
- Mark the candle. Draw from its high to low; if the base was several candles, mark the whole base.
- Confirm it is fresh. Skip blocks price has already revisited.
- Check location on the higher timeframe. A bullish block inside a higher-timeframe downtrend is fighting the bigger flow; a top-down multiple timeframe analysis settles this before you look for entries.
- Measure room to the target. If the next opposing level is closer than twice your risk, pass.

Entries, stops and targets
There are two common entries: a limit order resting at the block, or waiting for a rejection candle, such as an engulfing candle at support and resistance, once price arrives. The limit gets more fills; the confirmation entry avoids more of the blocks that simply break. Many traders also wait for a break of structure on a lower timeframe first.
Put the stop beyond the far side of the block with a buffer, not exactly on its low or high. The New York Fed work above is a reminder that clustered stops can accelerate price, and our guide to stop hunting in trading and how to avoid it explains why the obvious spot is often swept first. Targets usually sit just before the next opposing zone or swing point.
Worked example: a hypothetical bullish order block
All figures are hypothetical. On a £5,000 account risking 1 per cent per trade (£50), a currency pair on the 1-hour chart prints a down candle from 1.0850 to 1.0835, then rallies in three large candles to 1.0910, breaking the previous swing high at 1.0890.
- Zone: 1.0835 to 1.0850, the body and wick of the last down candle.
- Entry: limit buy at 1.0848, just inside the top of the block.
- Stop: 1.0823, below the block’s low with a buffer, so 25 pips of risk.
- Size: £50 ÷ 25 pips = £2 per pip on a spread bet; our guide on how to calculate position size for forex, CFDs and spread bets shows the working.
- Target: 1.0898, below a supply zone at 1.0900, so 50 pips: twice the risk.
If the 4-hour chart were in a clear downtrend, we would skip this block despite the neat numbers. Spread bets are leveraged, so a fast move or gap through the stop can cost more than the planned £50.

Common mistakes in order block trading
- Marking every opposing candle. Without displacement and a structure break, it is just a candle.
- Treating the story as proof. The block is a hypothesis about where orders sat, not a fact.
- Ignoring the higher timeframe. Most failed blocks we see were against the bigger trend.
- Stops on the exact wick. That is where everyone else’s stops sit too.
- Stacking jargon. Breakers and fair value gaps add labels, not edge, until tested.
Frequently asked questions
Are order blocks the same as supply and demand zones?
Very nearly. An order block is usually drawn from a single candle, while a supply or demand zone often covers the whole base, so order blocks are narrower. The logic, a sharp move away from an area that price later revisits, is the same.
Do order blocks actually work?
There is no published study of order blocks as such. Research does show that orders cluster at certain levels and that clustered stops can accelerate moves, which supports trading levels in general. Whether your version of the method has an edge is something only your own testing and records can show.
What timeframe is best for order blocks?
Any timeframe works, but 4-hour and daily blocks leave room for a sensible stop. Many traders mark them there and refine entries lower down.
What is a breaker block?
A breaker is an order block that failed: price broke through it, and traders then expect the broken block to act from the other side on a retest. It is the same idea as a broken level flipping role.
Next steps
If order blocks caught your interest, the foundation underneath them is our hub on supply and demand zones and how to draw them, together with how to rank key levels by importance.
Supply and demand, assessing price position and a filters and trigger process are all covered in our price action trading course, and the basics section is free to start.
This article is for education only and is not financial advice. Trading leveraged products such as CFDs and spread bets carries a high risk of losing money.