A Keltner channel strategy uses three lines on the chart: an exponential moving average in the middle and two bands set a multiple of the average true range above and below it. Because the bands widen and narrow with volatility, they help you judge whether a move is normal or stretched, and where a pullback in a trend might find buyers or sellers. We use them as context around price action, never as a trading system on their own.
Quick answer: what is a Keltner channel strategy?
Keltner Channels plot a moving average, usually a 20-period EMA, with bands a multiple of the average true range (often 2 × ATR) above and below. In a trend, traders buy pullbacks towards the middle line and treat the outer band as a target; in a range, the bands mark stretched prices.
How Keltner Channels are built
The modern version, popularised by trader Linda Bradford Raschke, has three parts. Chester Keltner’s original 1960 version used a simple average of the typical price with bands based on the average daily range, so older books may describe something slightly different.
- Middle line: an exponential moving average (EMA) of the close, commonly 20 periods.
- Upper band: the EMA plus a multiple of the average true range (ATR), commonly 2 × ATR.
- Lower band: the EMA minus the same multiple of ATR.
ATR measures how far a market typically moves per bar, including gaps; our guide to the average true range indicator for stops and sizing explains the calculation. Platforms differ on defaults, with ATR lengths of 10 or 20 and multipliers of 1.5 or 2, so check your settings before comparing charts.
Keltner Channels vs Bollinger Bands
Both tools wrap a moving average in volatility bands, which is why they are often confused. The difference is the volatility measure: Bollinger Bands use the standard deviation of closing prices around a simple average, while Keltner Channels use ATR around an EMA.
| Factor | Keltner Channels | Bollinger Bands |
|---|---|---|
| Middle line | EMA, often 20 | Simple average, often 20 |
| Band width | Multiple of ATR | Multiple of standard deviation |
| Reaction to spikes | Smoother, gradual | Widens sharply |
| Price outside bands | Less frequent | More frequent |
| Common use | Trend pullbacks, breakouts | Squeezes, reversions |
One spike can blow Bollinger Bands wide open, while ATR bands change more steadily. Our Bollinger Bands strategy guide to squeezes and walks covers the other tool, and some traders plot both: Bollinger Bands contracting inside the Keltner Channel marks unusually quiet conditions that can come before a larger move.

How we use a Keltner channel strategy in a trend
The bands are most useful when a market is already trending. In a clean uptrend, price tends to stay in the upper half of the channel, and pullbacks often stall near the middle line. That gives a structured way to wait for a better price rather than chasing.
- Confirm the trend with price structure first: higher highs and higher lows, ideally on a higher timeframe.
- Wait for a pullback towards the middle EMA, not a touch of the upper band.
- Look for a price action trigger at or near the middle line, such as a rejection candle at a prior swing level.
- Place the stop beyond the pullback low, or around one ATR below the middle line.
- Plan the exit at the opposite band or the next structural level, whichever comes first.
This fits the wider rules in our trend following strategy guide. It is also an alternative to waiting for a moving average crossover, which tends to react later.
Band walks and breakouts
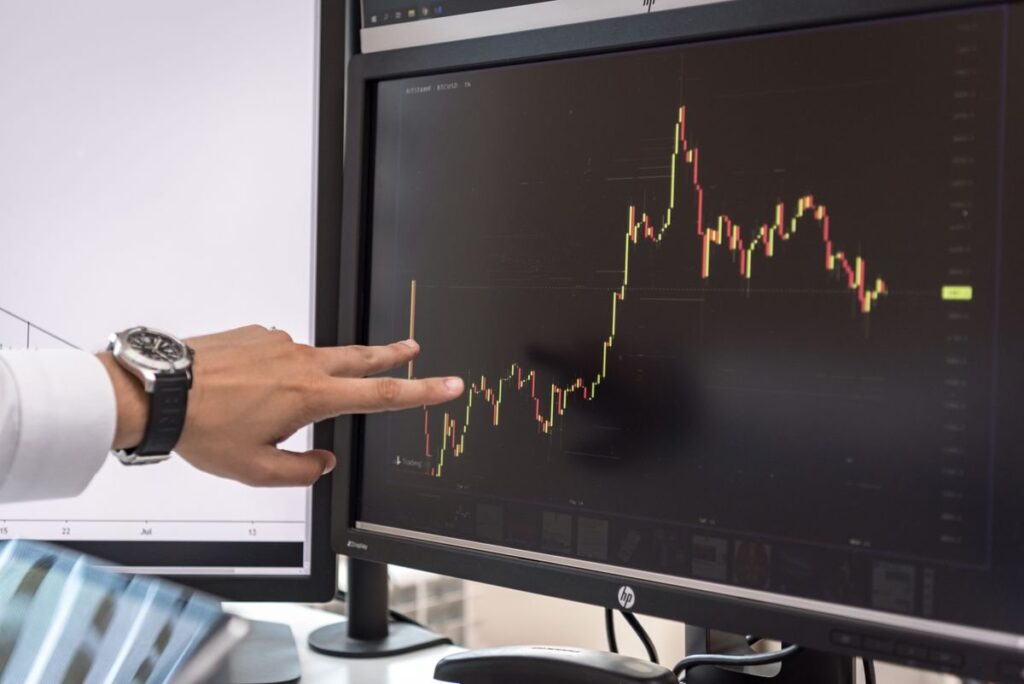
In a strong trend, price can ride along the outer band for many bars, often called a band walk. A close outside the channel in that context shows strength, not a reason to fade. Some systematic traders buy closes above the upper band for that reason, accepting that many will fail in ranging conditions.
Using the bands in a range
When the middle line is flat and price swings from band to band, the channel describes a sideways market. Here the outer bands mark stretched prices, and moves back towards the middle are more likely than breakouts. Our guides to mean reversion trading when price snaps back and trading sideways markets cover that approach.
The hard part is telling which regime you are in. A flat EMA with overlapping candles suggests a range; a sloping EMA with price holding one side suggests a trend.
Worked example: a Keltner channel pullback trade
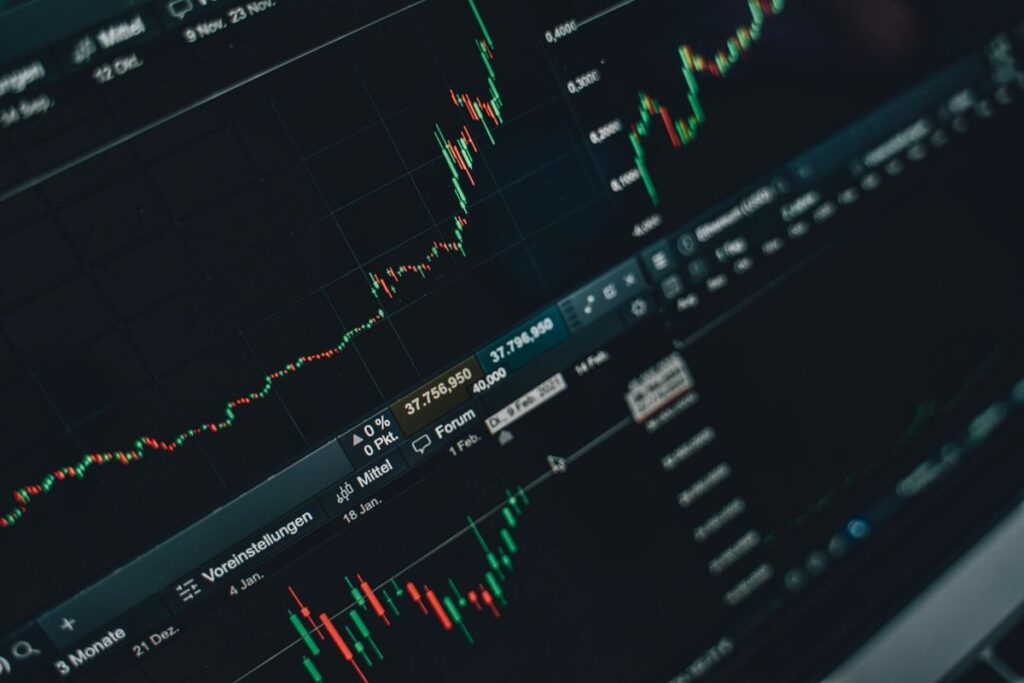
All figures are hypothetical. Example: on a £5,000 account we risk 1% per trade, which is £50. On a daily chart of a currency pair in an uptrend, the 20 EMA is at 1.2700 and ATR is 80 pips, so with a 2 × ATR multiplier the upper band is 1.2860 and the lower band 1.2540.
- Entry: price pulls back to the middle line and prints a rejection candle; we buy at 1.2705.
- Stop: one ATR below the EMA, 1.2700 − 0.0080 = 1.2620, so 85 pips of risk.
- Size: £50 divided by 85 pips is about £0.59 per pip, rounded down to £0.58. Risk is 85 × £0.58 = £49.30.
- Target: the upper band at 1.2860, 155 pips away, a potential gain of 155 × £0.58 = £89.90.
The bands move every day, so the target is reviewed each session, often with a trailing stop loss strategy. Our guide on how to calculate position size for forex and spread bets shows the sizing steps.

Stops, gaps and leverage
A stop one ATR away can still be jumped by a gap or a fast market. When the stop price is reached, a stop order becomes a market order, and FINRA warns it may be executed at a price significantly different from your stop price in volatile conditions. Spread bets and CFDs are leveraged, so a gap through your stop can cost more than you planned.
Common mistakes with Keltner Channels
- Fading every band touch. In a trend, a touch of the outer band is strength, not exhaustion.
- Ignoring the regime. Range tactics in a trend, or trend tactics in a range, lose money in both directions.
- Over-tuning settings. Tweaking the multiplier until past charts look perfect rarely survives live trading.
- No level behind the trade. The middle line works best where it lines up with a prior swing high or low.
- Treating bands as stops. A band moves every bar; your stop should sit where the trade idea is wrong.
Frequently asked questions
What are the best Keltner Channel settings?
A 20-period EMA with bands at 2 × ATR is a common starting point. Some platforms default to a 10-period ATR or a 1.5 multiplier, so test one setting on your market and keep it.
Are Keltner Channels better than Bollinger Bands?
Neither is better in general. Keltner Channels are smoother and suit trend pullbacks, while Bollinger Bands react faster to volatility changes and suit squeeze setups.
What timeframe works for Keltner Channels?
They work on any timeframe because ATR scales with the chart. Swing traders often use 4-hour or daily charts, which filter out much intraday noise.
Is a close outside the channel a reversal?
Not on its own. In a trend it often shows strength, and in a range it may mark a stretched price, so read the market structure first.
Next steps
Volatility bands are one tool among many; our comparison of price action vs indicators for beginners shows where they fit, and our opening range breakout guide covers a different way to trade expanding volatility.
Discovering the beginning of new trends and a filters and trigger process are both part of our price action trading course, and the basics section is free to start.
This article is for education only and is not financial advice. Trading leveraged products such as CFDs and spread bets carries a high risk of losing money.